Overview
Bearish Gap Fill Rejection
Also known as: Gap Fill Failure, Gap Resistance Rejection, Failed Gap Fill
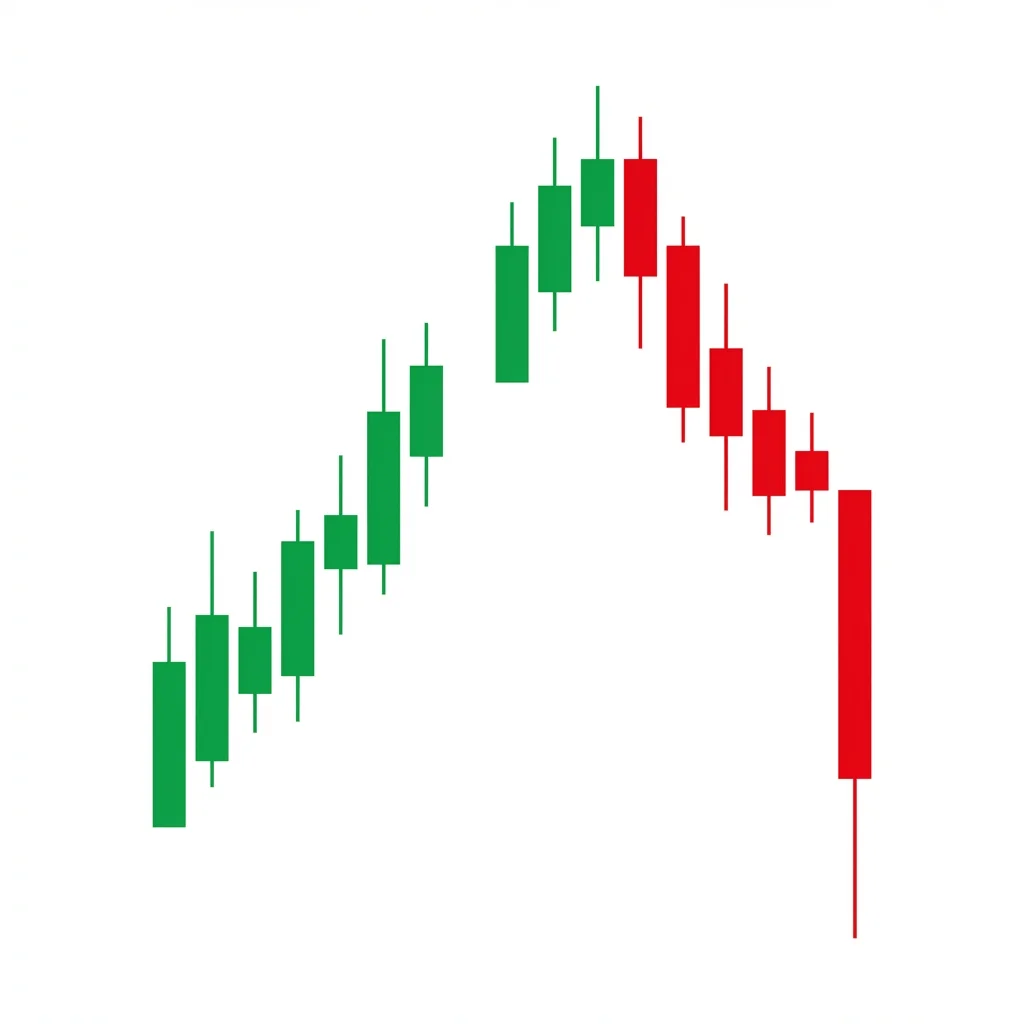
The bearish gap fill rejection occurs when price rallies to fill a prior gap down but is rejected at or within the gap zone, confirming the gap as resistance and signaling continuation of the downtrend.
This pattern capitalizes on the market axiom that 'gaps tend to fill,' but adds a critical nuance: even when price attempts to fill a gap, the gap zone often acts as powerful resistance. The rejection at the gap level validates the original selling pressure and provides an excellent short entry with clearly defined risk. Traders watch for price to enter the gap zone, then look for bearish rejection candles (shooting stars, bearish engulfings, or doji stars) as the signal to enter short positions.
History & Etymology
Gap fill analysis has been a cornerstone of technical trading since the mid-20th century. The concept that gaps act as magnets was popularized in the 1960s, while the refinement of understanding gap rejections came with the development of volume profile analysis in the 1980s and 1990s.
The name describes the price action literally: price attempts to 'fill' the gap (close the window) but is 'rejected' at that level, creating a bearish trading opportunity.
How It Forms
Formation Steps
- 1Prior bearish gap down creates a window
- 2Price rallies back up toward the gap
- 3Price enters the gap zone but fails to fill it completely
- 4Strong rejection candle forms at or within the gap area
- 5Price reverses back down, confirming the gap as resistance
Prerequisites
- A prior unfilled gap (falling window)
- Rally attempt toward the gap zone
Confirmation Signals
- Bearish rejection candle within the gap area
- Volume spike on the rejection
- Follow-through selling the next session
Invalidation Signals
- Price fills the gap completely and closes above it
- Strong bullish volume carries price through the gap
- No rejection candle forms at the gap level
Candle Breakdown
Gap Reference Candle
The original candle before the gap down, establishing the upper boundary of the gap zone.
This candle's low becomes the critical resistance level that defines the gap.
Rally Candles
Bullish candles carrying price up toward the gap zone, often on moderate volume.
Buyers attempt to reclaim the gap level, driven by the belief that 'gaps must fill.'
Rejection Candle
A bearish candle forming at or within the gap zone, showing clear rejection with a long upper shadow or bearish body.
Sellers defend the gap level aggressively, overwhelming the buying attempt and trapping late buyers.
Psychology
The gap fill rejection is a powerful psychological trap. Traders expecting the gap to fill are lured into long positions, only to be caught when institutional sellers use the rally as an opportunity to reload shorts at better prices.
Buyer Perspective
Buyers are driven by the statistical tendency for gaps to fill. They enter long expecting a complete fill, but the rejection at the gap level creates immediate losses and forces capitulation.
Seller Perspective
Sellers patiently wait for the gap fill attempt, knowing it provides optimal pricing for new shorts. The rejection confirms their thesis and emboldens further selling.
Smart Money Action
Institutional traders place limit sell orders within the gap zone, creating a wall of supply. They use the gap fill attempt as liquidity to establish or add to short positions.
Retail Trader Trap
Retail traders buy aggressively as price enters the gap, expecting a full fill. The rejection traps them with losses, and their stop-loss exits fuel the subsequent decline.
Emotional Cycle
Trading Strategy
Aggressive Entry
Enter short immediately when a bearish rejection candle forms within the gap zone, without waiting for the next candle.
Conservative Entry
Wait for the rejection candle to complete, then enter short when the next candle trades below the rejection candle's low.
Retest of the recent swing low (bottom of the rally).
New low below the post-gap low.
Measured move: distance from gap to rejection point, projected downward from the low.
Best Conditions
- Timeframe: daily
- Timeframe: 4h
- Timeframe: 1h
- downtrending
- post-earnings gap
- bear market rally
- Asset: stocks
- Asset: indices
- Asset: crypto
Avoid When
- Timeframe: 1m
- Timeframe: 5m
- strong reversal
- V-bottom recovery
- bull market
Confluence Factors
- Gap zone aligns with a key moving average (20 or 50 EMA)
- RSI reaches overbought territory at the gap level
- Fibonacci retracement level coincides with the gap zone
- Volume profile high-volume node above the gap provides additional resistance
- Prior support turned resistance aligns with the gap
Scale In Strategy
Enter 50% on the initial rejection, add 50% when price breaks below the most recent swing low.
Scale Out Strategy
Take 50% at the recent low, trail the rest with a 10 EMA.
Risk Management
Volume Analysis
Volume Confirmation
Volume should spike on the rejection candle, showing active selling at the gap level. Low volume rejection is less reliable.
Volume Profile
The gap zone should show a low-volume node in the volume profile, confirming it as an area of inefficiency and potential resistance.
Volume Divergence
If volume is high on the rally into the gap but even higher on the rejection, the pattern is strongly confirmed.
Technical Confluence
Support Resistance
The gap zone itself is the primary resistance. The low of the pre-gap candle and the high of the post-gap candle define the zone boundaries.
Fibonacci Levels
If the gap zone aligns with the 50% or 61.8% Fibonacci retracement of the decline, the rejection is significantly more powerful.
Moving Averages
The 20 or 50 EMA often converges with the gap zone during the fill attempt, adding dynamic resistance.
Rsi Confirmation
RSI approaching 60-70 as price enters the gap zone, then turning down, confirms the rejection.
Macd Confirmation
MACD histogram shrinking or turning negative as price enters the gap supports the bearish rejection.
Bollinger Bands
Price touching the upper Bollinger Band at the gap level and then reversing provides strong confirmation.
Vwap
On intraday charts, the gap rejection often occurs at or near VWAP, making it a natural resistance.
Ichimoku Cloud
If the gap zone falls within or near the Kumo cloud, the combined resistance is very powerful.
Elliott Wave
Gap fill rejections often occur at the end of corrective Wave 2 or Wave B rallies.
Wyckoff Phase
This pattern often appears during automatic rallies (AR) within a distribution or redistribution phase.
Market Profile
The gap zone represents a single-print area in the market profile — these areas act as strong references for rejection.
Order Flow
Large passive sell orders at the gap level create absorption of buying pressure. Watch for aggressive sellers stepping in with market orders once absorption is visible.
Open Interest
Rising put open interest at the gap level confirms institutional bearish positioning.
Multi-Timeframe Analysis
Higher Timeframe Alignment
The gap should be visible on the higher timeframe (weekly if trading daily). A weekly gap zone is the strongest resistance.
Lower Timeframe Entry
Use the 15m or 1H chart to identify the exact rejection pattern within the gap zone for precise entry.
Timeframe Confluence
If the gap zone aligns on both the daily and 4H charts, the rejection is significantly more likely.
Top-Down Approach
Weekly downtrend → Daily gap zone identified → 4H rally into gap → 1H rejection pattern → Enter short.
Statistics
Historical Examples
Snap Inc Gap Fill Rejection
successSNAP gapped down 40% on earnings. Over the following weeks, price rallied to fill about 60% of the gap before being rejected hard at the gap zone, declining another 35%.
Lesson: Earnings gaps in tech stocks create powerful gap zones that often reject fill attempts, especially when fundamentals support the initial gap.
SPY Gap Fill Rejection March 2020
successAfter the initial COVID crash gap, SPY rallied to partially fill the gap before being rejected, leading to the market's ultimate low.
Lesson: During crisis selling, gap fill rejections can precede accelerated declines. The initial gap fill attempt often marks the 'dead cat bounce.'
Variations
Partial Gap Fill Rejection
Price fills 30-60% of the gap before being rejected.
Full Gap Fill and Reverse
Price fills the gap entirely but immediately reverses, closing back below the gap zone.
Confusion Matrix
Patterns commonly confused with Bearish Gap Fill Rejection and how to distinguish them.
Bearish Resistance Rejection
70% similarCheck if there is a visible gap (window) on the chart that price is rallying into. If the resistance is not a gap, it is a standard resistance rejection.
Key Differences
- Gap fill rejection specifically involves a prior gap
- Resistance rejection can occur at any horizontal level
- Gap zones have unique volume characteristics
Bearish Last Kiss
60% similarA last kiss retests a level where price previously traded. A gap fill rejection retests a zone where no trading occurred — the gap itself.
Key Differences
- Last kiss retests a broken support level
- Gap fill rejection retests a gap zone
- Gap zones have no prior price action within them
A falling window is a Japanese candlestick term for a gap down in price where the high of the current candle is below the low of the previous candle, signaling strong bearish continuation momentum.
The bearish gap momentum pattern occurs when price gaps down on high volume and continues selling throughout the session without filling the gap, indicating powerful one-directional selling pressure.
The gravestone doji is a single-candle reversal pattern with the open, close, and low at the same level and a long upper shadow, resembling a gravestone. It signals that buyers pushed price higher but sellers reclaimed all gains by the close.
The last kiss occurs when price breaks below support, rallies back to 'kiss' the broken level from below, and is rejected. The old support now acts as resistance, confirming the breakdown and offering an optimal short entry.
A bearish resistance rejection occurs when price rallies into a well-established resistance level and is met with selling pressure, producing bearish candles with long upper wicks. The repeated failure to break through resistance signals a reversal.
The shooting star is a single-candle bearish reversal pattern with a small body near the low and a long upper shadow. It shows that buyers pushed price significantly higher during the session but sellers drove it back down, signaling a potential top.
Pro Tips & Common Mistakes
Pro Tips
- The strongest rejections occur when only 50-70% of the gap fills — a partial fill rejection is more bearish than a near-complete fill rejection.
- Combine this pattern with volume profile: look for the point of control (POC) within the gap zone as the most likely rejection point.
- Time your entry using lower timeframe bearish patterns that form at the gap level.
- Multiple rejections at the same gap level increasingly confirm the gap as institutional resistance.
Common Mistakes
- Entering short before the rejection candle confirms — price may fill the gap entirely.
- Setting stops too tight within the gap zone — wicks into the gap are common before rejection.
- Ignoring the broader market context — gap fill rejections in bull markets are less reliable.
- Trading this pattern on low-timeframe gaps that are easily filled.
Advanced Techniques
- Use delta analysis on the rejection candle to confirm that sellers absorbed all buying pressure at the gap level.
- Monitor options open interest at strikes within the gap zone — large put OI suggests institutions defending the level.
- Combine with breadth indicators: if the broader market is weak while the stock attempts a gap fill, rejection probability increases.
- Use time-at-price analysis to determine how long price spends in the gap zone — shorter time with rejection is more powerful.
Institutional Perspective
Institutions deliberately place limit sell orders within gap zones, creating the appearance of a potential fill while using the buying pressure as liquidity for their shorts. The gap zone is a key area of interest on institutional flow maps.
Fun Facts
- Professional floor traders used to say 'gaps are meant to be filled' — but modern quantitative research shows that gap fill rejections occur in about 35-40% of fill attempts.
- The concept of gap resistance zones was first formalized by Alexander Elder in his book 'Trading for a Living.'
- High-frequency trading algorithms specifically target gap fill levels as areas of high liquidity for executing large orders.
Frequently Asked Questions
A gap fill rejection occurs when price rallies to fill a prior gap but is rejected at or within the gap zone, failing to close above it. This confirms the gap as resistance and signals the downtrend will likely continue.
While most gaps eventually fill, the timing varies greatly. Some gaps fill within days, while others take months or even years. The gap fill rejection pattern specifically trades the failure of a fill attempt, not whether the gap will eventually fill.
Place your stop above the high of the rejection candle or above the upper boundary of the gap zone. The tighter option gives better risk-reward but may get stopped out on a second fill attempt.