Overview
Inside Bar
Also known as: Harami, Inside Day, NR7 Inside Bar
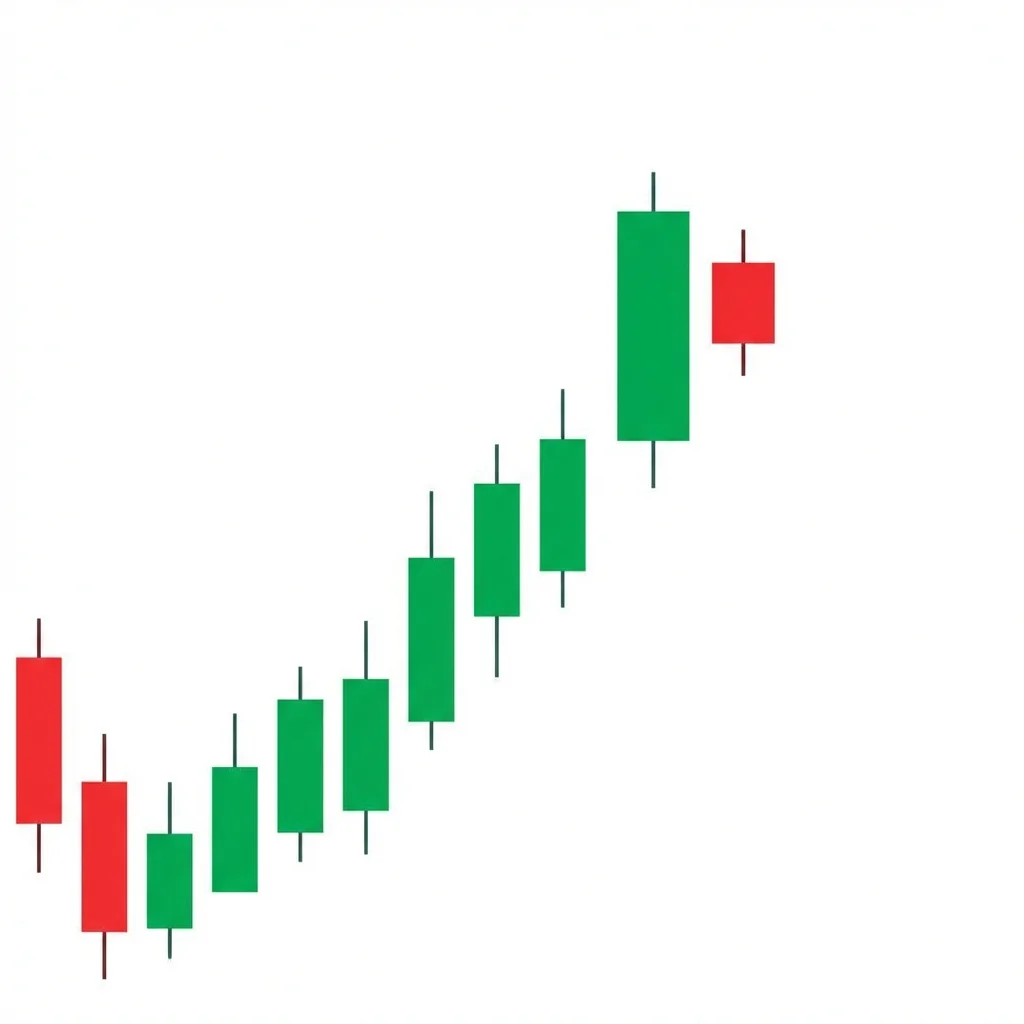
The Inside Bar is a two-candle pattern where the second candle's entire range is contained within the first candle, signaling a contraction in volatility and a pending breakout in either direction.
The Inside Bar forms when a candle's complete range (high to low) fits within the range of the preceding candle (the mother bar). This contraction signals that the market is consolidating after the mother bar's move, with volatility compressing as buyers and sellers reach temporary equilibrium. The pattern is directionally neutral — it can break either way. Traders typically place bracket orders above and below the mother bar's range, entering in whichever direction the market breaks. The Inside Bar is one of the most popular price action setups among professional traders because it provides clearly defined risk levels and works across all markets and timeframes.
History & Etymology
The Inside Bar is the Western equivalent of the Japanese Harami pattern. While the Harami focuses on real body containment, the Inside Bar uses the full range (high-to-low). The pattern gained immense popularity with the rise of price action trading in the 2000s, promoted by traders like Nial Fuller and Al Brooks.
Named 'Inside Bar' because the second candle trades entirely 'inside' the range of the first candle. The first candle is called the 'mother bar' because it contains the smaller candle.
How It Forms
Formation Steps
- 1First candle (mother bar): a candle with a significant range in either direction
- 2Second candle (inside bar): entire high-low range fits within the first candle's high-low range
Prerequisites
- The inside bar's high must be lower than the mother bar's high
- The inside bar's low must be higher than the mother bar's low
- The mother bar should have a meaningful range
Confirmation Signals
- Break above the mother bar high (bullish breakout)
- Break below the mother bar low (bearish breakout)
- Volume increase on the breakout candle
Invalidation Signals
- False breakout — price breaks one side then reverses through the other
- Multiple inside bars without resolution (may lead to a tighter setup or chop)
- Very low volume on the breakout attempt
Candle Breakdown
Mother Bar
The first candle with a significant range that establishes the containment zone for the inside bar
The mother bar represents a strong directional move or volatile session. Its range defines the battlefield that the market will subsequently consolidate within.
Inside Bar
The second candle whose entire range (high to low) fits within the mother bar's range
The market contracts, reflecting a pause in the previous move. Participants are digesting the mother bar's information and preparing for the next directional move.
Psychology
The Inside Bar reflects a pause in market activity after a significant move. The contraction shows that the aggressive party from the mother bar has paused, and the opposing side has not yet taken control. This creates a coiled-spring scenario where the eventual breakout can be powerful.
Buyer Perspective
If the mother bar was bullish, buyers see the inside bar as a healthy consolidation before continuation. If the mother bar was bearish, buyers see the contraction as potential exhaustion of selling pressure.
Seller Perspective
If the mother bar was bearish, sellers interpret the inside bar as a pause before further decline. If the mother bar was bullish, sellers view it as potential exhaustion of buying pressure.
Smart Money Action
Institutions frequently use the low-volatility inside bar session to accumulate positions quietly. The narrow range allows them to fill large orders with minimal slippage. They then participate in or trigger the breakout.
Retail Trader Trap
Retail traders often try to trade the inside bar's micro-range, getting chopped up. Others place breakout orders too close to the inside bar range and get triggered by false breakouts.
Emotional Cycle
Trading Strategy
Aggressive Entry
Enter in the anticipated direction using the inside bar's high or low as the trigger, with stop on the opposite side of the inside bar.
Conservative Entry
Use the mother bar's high and low as the breakout triggers, entering on a close beyond either level.
1:1 risk-reward based on the mother bar range.
Next significant support or resistance level.
Measured move equal to the mother bar range projected from the breakout.
Best Conditions
- Timeframe: daily
- Timeframe: 4h
- Timeframe: 1h
- trending markets with pullbacks
- after strong directional moves
- at key technical levels
- Asset: forex
- Asset: stocks
- Asset: indices
- Asset: crypto
Avoid When
- Timeframe: 1m
- Timeframe: 5m
- choppy sideways markets
- very low volatility environments
- holiday trading
Confluence Factors
- Inside bar forms at a key support or resistance level
- Mother bar aligns with the prevailing trend direction
- Inside bar forms at a moving average
- Multiple inside bars (inside-inside bar) create extreme compression
- RSI at extreme levels during the pattern formation
Scale In Strategy
Enter half on the breakout, add the remainder on a successful retest of the mother bar range.
Scale Out Strategy
Take one-third at TP1, one-third at TP2, and trail the final third.
Risk Management
Volume Analysis
Volume Confirmation
Volume should decline on the inside bar and surge on the breakout candle for highest probability.
Volume Profile
Low volume on the inside bar confirms consolidation. High volume on the breakout validates directional commitment.
Volume Divergence
If volume increases on the inside bar without a breakout, it may indicate stealth accumulation or distribution.
Technical Confluence
Support Resistance
Inside bars at support favor upside breakouts; at resistance, they favor downside breakouts. These are the highest-probability setups.
Fibonacci Levels
Inside bar at the 50% or 61.8% pullback of a trend leg creates an excellent continuation entry.
Moving Averages
Inside bar at the 20 EMA in a trend is a classic price action continuation setup.
Rsi Confirmation
RSI flattening during the inside bar with subsequent expansion confirms the breakout direction.
Macd Confirmation
MACD signal line compression during the inside bar with expansion on breakout validates the move.
Bollinger Bands
Inside bar during a Bollinger Band squeeze doubles the compression signal strength.
Vwap
Intraday inside bars near VWAP indicate equilibrium at fair value. The breakout direction reveals imbalance.
Ichimoku Cloud
Inside bar at the cloud boundary creates a defined setup with cloud direction providing breakout bias.
Elliott Wave
Inside bars commonly form during Wave 2 and Wave 4 corrections before the next impulse wave.
Wyckoff Phase
Inside bars can represent the Creek or the Last Point of Support/Supply in Wyckoff analysis.
Market Profile
Inside bar forming at the Value Area boundary suggests the market is deciding whether to accept or reject value.
Order Flow
Balanced buy and sell flow during the inside bar with a sudden delta shift on breakout confirms the trade.
Open Interest
Rising open interest during an inside bar suggests new positions being built ahead of the breakout.
Multi-Timeframe Analysis
Higher Timeframe Alignment
A daily inside bar at a weekly support/resistance level provides the highest probability setups.
Lower Timeframe Entry
After a daily inside bar, use the 1-hour chart to enter on the first breakout of the daily range for precise timing.
Timeframe Confluence
Inside bars on the daily chart that coincide with 4-hour trend pullbacks create ideal risk-reward entries.
Top-Down Approach
Weekly trend determines breakout bias. Daily inside bar provides the setup. 4-hour chart provides the entry trigger.
Statistics
Historical Examples
EUR/USD Inside Bar Continuation
successEUR/USD formed an inside bar during an uptrend at the 20 EMA. The bullish breakout produced a 150-pip continuation move over the next week.
Lesson: Inside bars at the 20 EMA during trends provide excellent continuation entries with defined risk.
Amazon Inside Bar at Resistance
successAMZN formed an inside bar at $140 resistance. The bearish breakout below the mother bar low led to a decline to $125 over two weeks.
Lesson: Inside bars at resistance levels that break to the downside can produce significant reversal moves.
Bitcoin Inside Bar False Breakout
failureBTC formed an inside bar at $27,500. The initial upside breakout triggered but reversed sharply, breaking below the mother bar low.
Lesson: False breakouts from inside bars are common. Use the mother bar range stops and be prepared to reverse.
Variations
Inside-Inside Bar
An inside bar that is itself contained within another inside bar, creating double compression.
Pin Bar Inside Bar Combo
An inside bar where the mother bar is a pin bar (long shadow rejection), combining two powerful signals.
Confusion Matrix
Patterns commonly confused with Inside Bar and how to distinguish them.
Bullish Harami
8000% similarCheck if you are comparing bodies only (Harami) or the full high-low range (Inside Bar). Also check if there is a directional bias from the color pattern.
Key Differences
- Harami requires body containment; Inside Bar requires full range containment
- Harami has specific color requirements; Inside Bar is color-neutral
- Harami is directional; Inside Bar is neutral
Neutral Tight Coil
6000% similarInside Bar is exactly two candles. Tight Coil is three or more candles with progressively shrinking ranges.
Key Differences
- Tight Coil requires multiple decreasing-range candles
- Inside Bar is specifically a two-candle containment pattern
The bearish harami is a two-candle reversal pattern where a large bullish candle is followed by a small bearish candle entirely contained within the first candle's body. It signals waning buying momentum and potential trend reversal.
The Bullish Harami is a two-candle reversal pattern where a small bullish candle is entirely contained within the body of the preceding large bearish candle, signaling a potential end to a downtrend.
A Doji Cluster consists of two or more consecutive doji candles, indicating prolonged indecision and compressed volatility that typically precedes a significant breakout move.
The Inside-Outside-Inside (IOI) is a three-candle pattern where an inside bar is followed by an outside bar and then another inside bar, creating a compression-expansion-compression sequence that often precedes a significant breakout.
The Tight Coil is a multi-candle pattern where each successive candle has a smaller range than the last, creating a coiled-spring effect that typically precedes an explosive directional breakout.
The Volatility Contraction Pattern (VCP) shows progressively smaller price swings as ATR declines, signaling that the market is absorbing supply and preparing for a significant directional breakout.
Pro Tips & Common Mistakes
Pro Tips
- Inside bars that align with the prevailing trend have a 60%+ success rate for continuation breakouts
- The tighter the inside bar relative to the mother bar, the more explosive the breakout tends to be
- Multiple inside bars (inside-inside bar) create the most powerful compression setups
- Use the mother bar high and low as your trade triggers — not the inside bar levels
- Inside bars on the daily chart are the most reliable; lower timeframes produce more false signals
Common Mistakes
- Using the inside bar range for stops instead of the mother bar range
- Trading inside bars in choppy markets where they produce frequent false breakouts
- Entering before the breakout candle closes outside the mother bar range
- Ignoring the trend context — inside bars breaking against the trend have lower success rates
- Overtrading every inside bar without filtering for quality setups
Advanced Techniques
- Use 'inside-inside bar' setups (inside bar within an inside bar) for the tightest risk-reward ratios
- Combine with the 'fakey' setup — a false breakout of the inside bar that reverses, trapping traders on the wrong side
- Use the mother bar's VWAP as an intraday reference for bias within the inside bar range
- Apply the inside bar range as a future support/resistance zone after the breakout
Institutional Perspective
Institutional traders are often the primary reason inside bars form — they absorb aggressive orders during the mother bar and then quietly accumulate during the inside bar's low-volume session. The breakout is triggered when their positions are filled and they allow the market to move.
Fun Facts
- The Inside Bar is considered the single most traded price action pattern by professional forex traders worldwide.
- An Inside Bar on the weekly chart of the S&P 500 has preceded some of the largest market moves in history.
- Al Brooks, a renowned price action trader, has documented over 50 variations of the inside bar setup in his trading course.
Frequently Asked Questions
An Inside Bar is a two-candle pattern where the second candle's entire range (high to low) fits within the first candle's range. It signals consolidation and a pending breakout.
While the Inside Bar is neutral, breakouts in the direction of the prevailing trend have higher success rates (60%+). Counter-trend breakouts are riskier and should require more confirmation.
The safest stop is beyond the mother bar range on the opposite side of the breakout. A tighter stop can be placed beyond the inside bar range, but this increases false stop-out risk.